Introduction
Midjourney is a generative AI tool that can generate high quality images from text prompts. It is particularly good at generating photorealistic images, and also good at blending an existing picture with a prompt. Lots of people use Midjourney as a digital diary, or to quickly create images for their social media and blog posts.
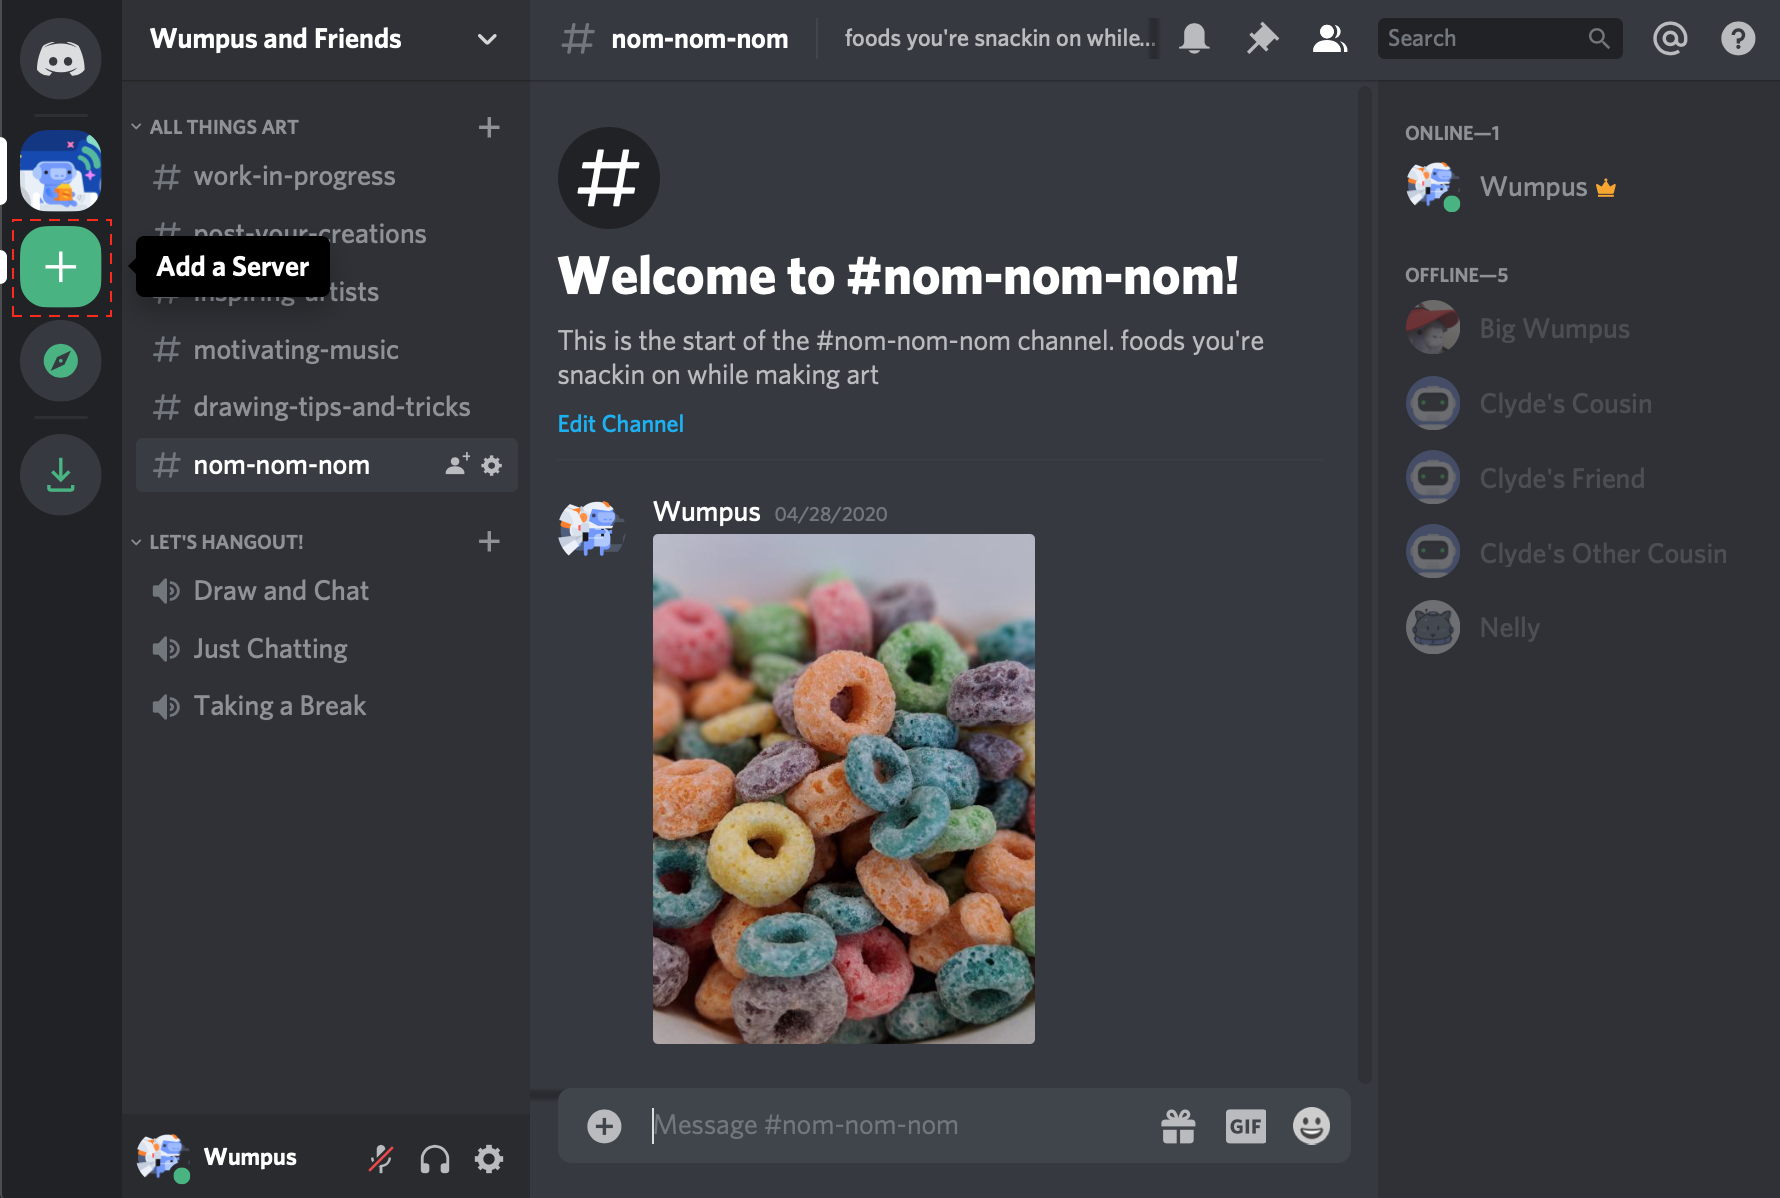
One unique characteristic of Midjourney is that its interface is only available on Discord, a popular chat app. In order to create images, you have to chat with the Midjourney bot on a Discord server.
This is a tutorial on how to get started with Midjourney. While it’s mostly based on the official Midjourney getting started guide, I have added a few suggestions that made my life much easier, especially my Step 2. Hopefully will help you, too.
Installing Midjourney
Step 1: Log in to Discord
If you don’t have a Discord account, you will have to create one. Discord has apps for all major operating systems, mobile devices, and also a web app. Install all apps you think you’re going to use. I frequently use the desktop app the most, but the mobile app is also very convenient and works surprisingly well for chatting with the Midjourney bot.
Step 2: An easier way: create your own server
This is where my instructions are very different from the official guide. The official guide asks you to join the Midjourney Discord server and chat with the Midjourney bot there. I don’t recommend doing that. The Midjourney Discord server is very active and noisy, and you will get a lot of notifications from other people’s conversations. It’s also very easy to get lost in the sea of messages. You can work around that by directly messaging the Midjourney bot, but you will still have to configure the server settings to mute all channels and notifications.
Although it may sound intimidating, creating your own server is very easy and it’s mostly click-based. You can create a server for free, and you can create as many servers as you want. You can see detailed instructions here. Here’s a quick summary:
1. Click the + button on the left sidebar to Add a Server
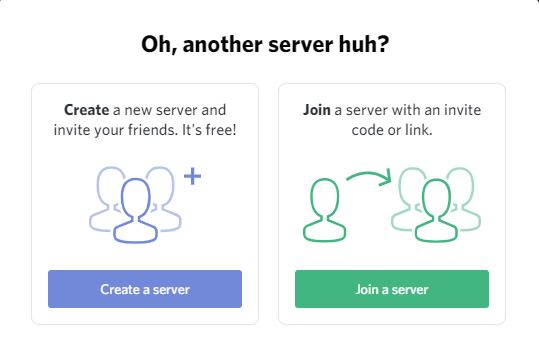
2. Select Create a server
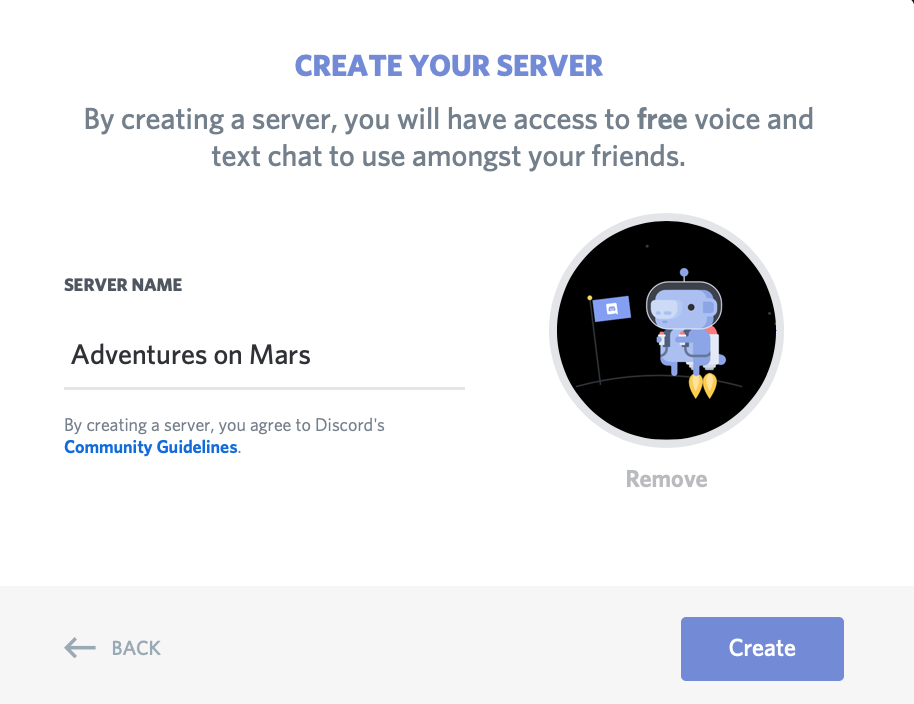
3. Give your server a name and optionally an icon, and click Create
4. That’s it!
You have created your own server. Now you need to subscribe to Midjourney and invite the Midjourney bot to your server.
Step 3: Subscribe to Midjourney
This is the hard part. There are no free trials anymore, and you need a paid subscription in order to use Midjourney.
- Visit Midjourney.com/account.
- Sign in using your verified Discord account.
- Select a subscription tier and click
Subscribe.
The least expensive subscription is good for most purposes, and I suggest you use that one to get started. This will give you about three hours of server time per month, and you lose what you don’t use. Even though I use Midjourney a lot, I rarely use up all my server time. You can top off if you need.

Step 4: Invite the Midjourney bot to your server
Now that you have a server and a subscription, you need to invite the Midjourney bot to your server. This is also very easy, and done mostly by clicking.
In the left sidebar, right-click your server and select
App catalog
Search for
Midjourney, selectMidjourney Bot, and clickAdd to server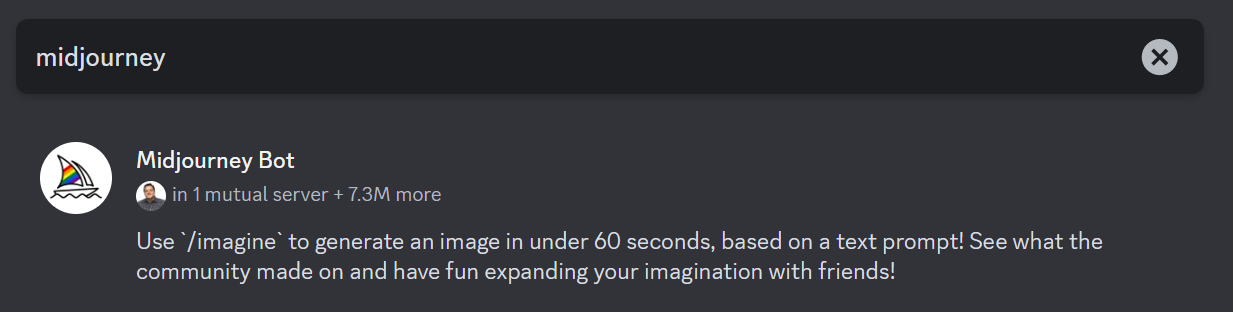

- Select your server from the dropdown, and click
Continue, and thenAuthorize.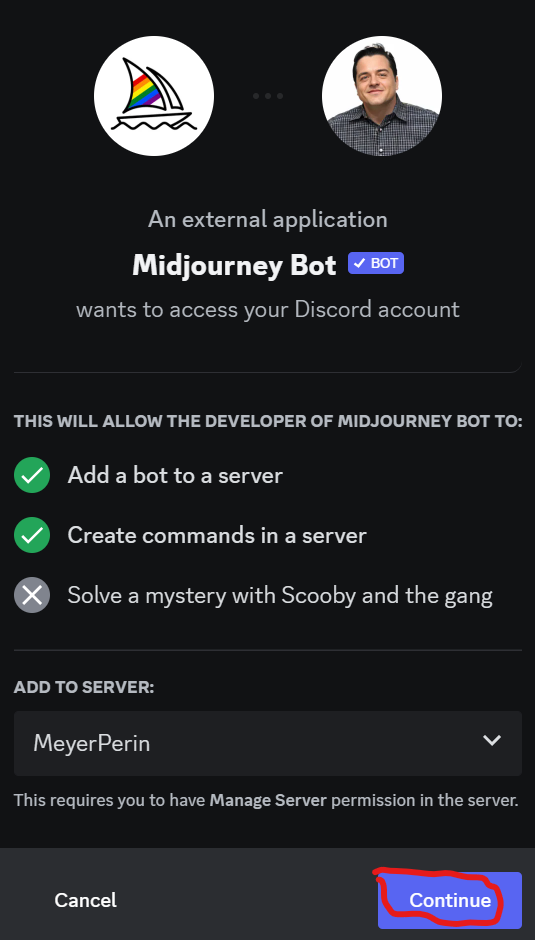
You can now start using Midjourney in your own.
Basic usage of Midjourney
Now that Midjourney is installed on your server, you can start using it. I just send direct messages to it by right-clicking it and selecting Message.

The official guide has a very good introduction to the basic usage of Midjourney, starting on step 5. I will just summarize the main command imagine here, and show you an example of how you can use your own image as a starting point.
The imagine command
The imagine command is the main command you will use to generate images. It takes a prompt as input, and generates an image based on the prompt. The prompt can be a few words, a sentence, or even a paragraph. The longer the prompt, the more specific the image will be.
There are a lot of prompting techniques, and I will not go into details here. You can find a lot of examples in the official guide.
Here’s a quick example:
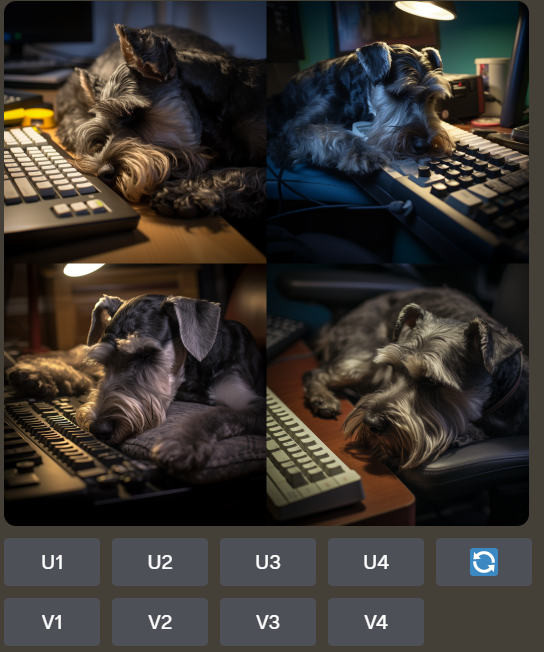
/imagine standard schnauzer sleeping on a computer keyboard
Midjourney by default will reply with four suggestions. Their numbers start on the top left and go clockwise. There will be some buttons under the suggestions, labeled U1, U2, U3, U4 and V1, V2, V3, V4.
You can click on the U buttons to upscale (increase the resolution) of a picture you liked, and click on the V buttons to see more variations of the current suggestion. If you’re going to use the image for social media, I suggest you upscale it before downloading.
There’s also a button to regenerate all images if you don’t like any of the suggestions. Here’s what I got:
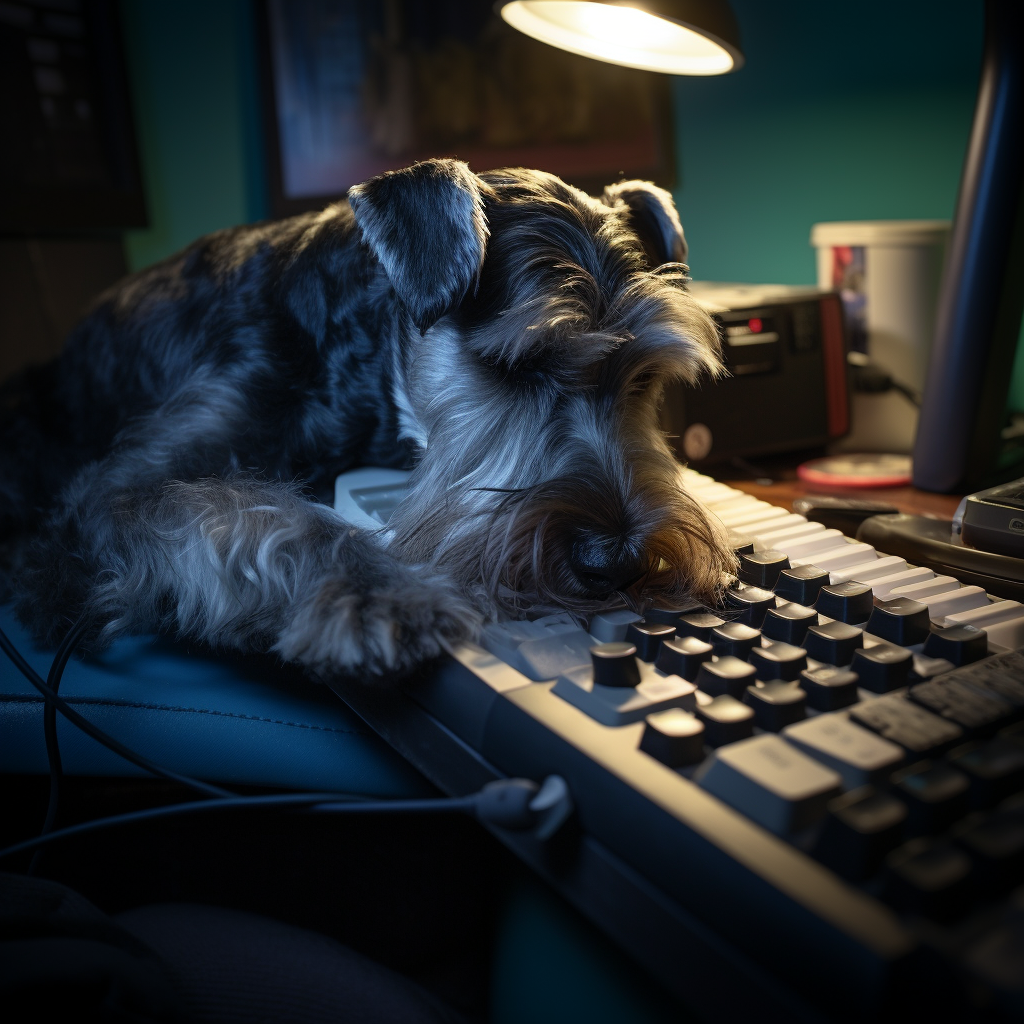
I like the second one, so I clicked on the U2 button to upscale it. Then I clicked on the download button to download the image. Here’s the final result:
Using an existing image
You can use an existing image with the /imagine command. I frequently use my own headshot and ask Midjourney to put me in some weird place or situation. In order for Midjourney to use your image, you need to upload it to the web first and give Midjourney the URL. I have my own server, but you can also upload your image to Discord and use the URL Discord gives you, or upload it to GitHub. There are plenty of other services you can use, too, like Imgur.
My headshot is at https://links.meyerperin.com/headshot.

I can use it with the /imagine command like this:
/imagine https://links.meyerperin.com/headshot as Batman in Gotham City
And here is the final result:
